Mhmm, ice cream… Who doesn’t like it? If you are a fan of an ice cream on a stick or a popsicle you probably threw away many sticks. Not that we count! 🙂 But there are many great ways to use those sticks and today we will show you how to use them to make AN awesome catapult
HISTORY OF CATAPULTS
When we hear the word catapult, we probably imagine sieges on medieval castles, but catapults were actually used much before that and their design varied a lot.
But what is a catapult? In a most general sense, a catapult is a machine which purpose is to hurl objects through the air with the intent of hitting some target. And it is important it’s doing that without the use of explosives.
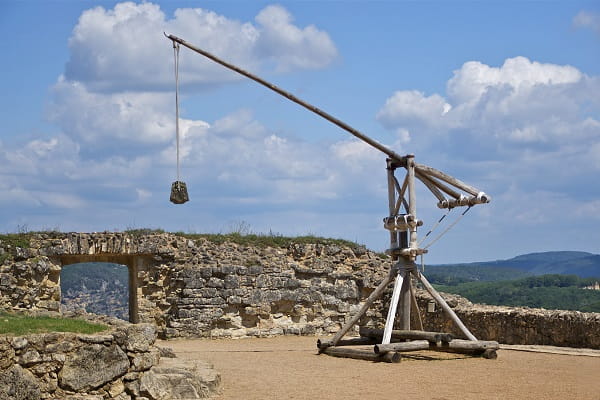
The first designs were inspired by crossbows and the need to fire larger projectiles. Catapults in this form were first used in ancient Greece and India around min 5th century BC. Romans adopted the technology and improved its design. They started to use catapults as a sling to throw rocks on their enemies. They even used catapults to hurl carcasses so they spread disease and demoralize their opponents. But the golden period of the siege weaponry began in middle ages when the stone walls and improved defenses called for more force, precision and range. The trebuchet was invented to answer that need.
Besides classical catapult (also known as mangonel), two most popular designs were:
- Ballista – giant immobile crossbows whose projectiles were large arrows or darts made from wood with an iron tip
- Trebuchet – the biggest and the most powerful version of the catapult, it could hurl 50-100kg stones over the distance of 300m
ENGINEERING BEHIND CATAPULTS
Catapults are using the laws of physics, primarily tension and gravity to store and then release energy which hurls a projectile without the use of explosives.
Classical catapult consists of an arm with a bowl-shaped bucket attached to the end in which we put projectile. Upon release, the arm rotates at a high speed and hurls the projectile. The launch velocity of the projectile is equal to the velocity of the arm at the bucket end and the angle is controlled by stopping the arm with a crossbar. When crossbar is reached, the arm stops and projectile continues moving due to the force.
Unlike the trebuchet which was well suited for launching projectiles over walls, this type of the catapult was best suited for destroying walls since it launched projectiles at lower angles.
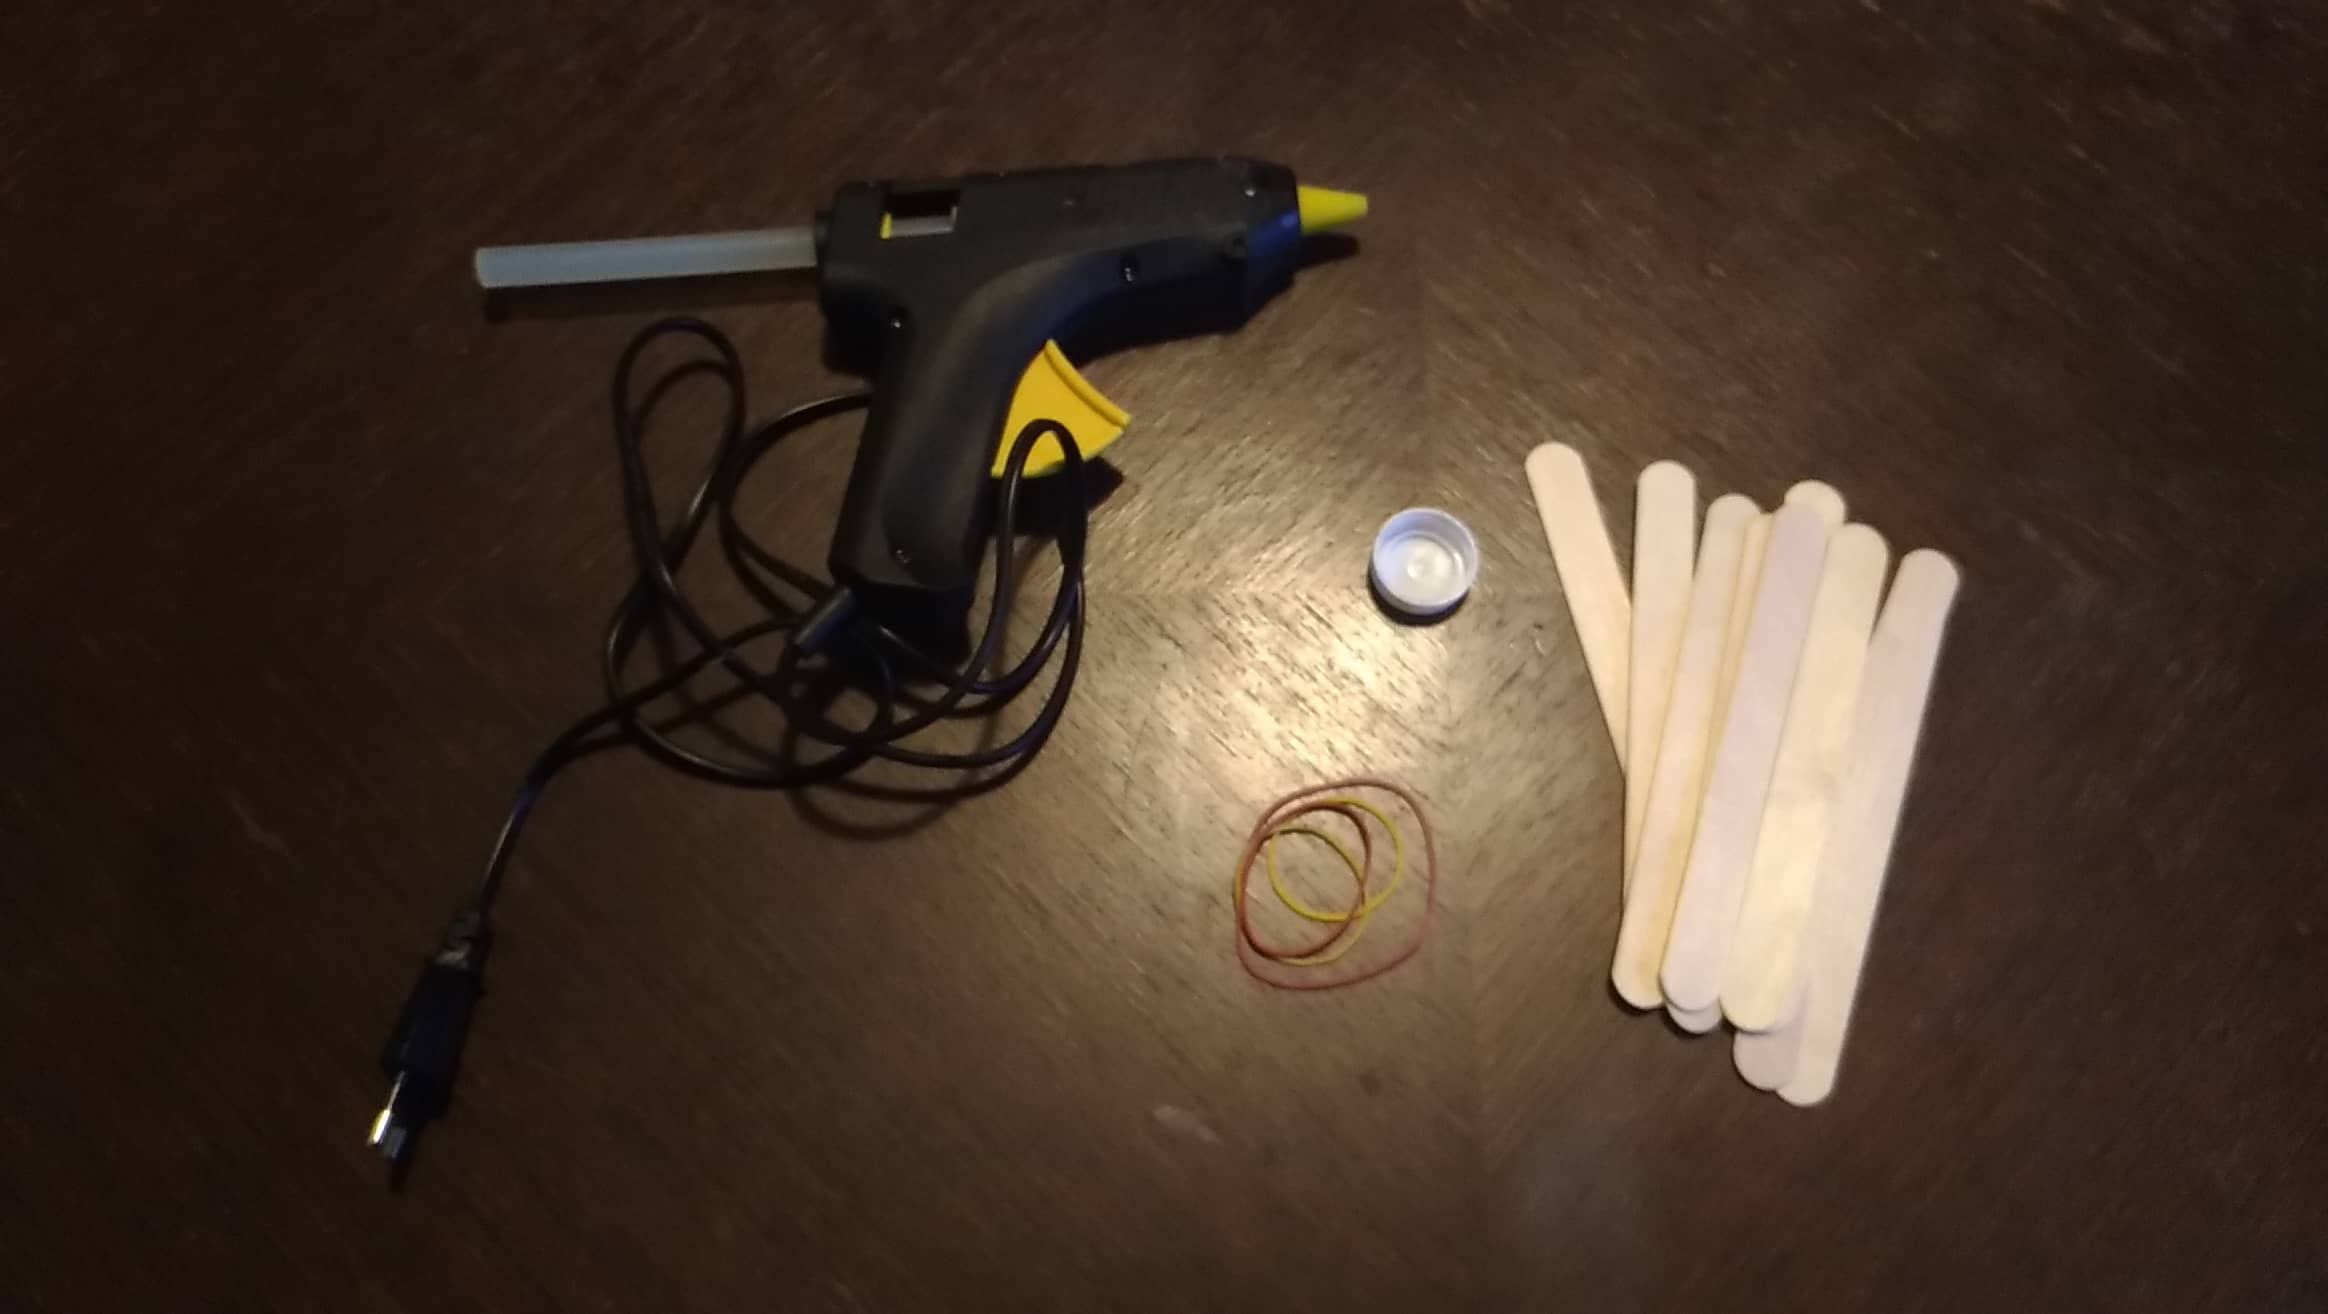
MATERIALS NEEDED FOR POPSICLE CATAPULT:
- Popsicle sticks (11)
- Rubber bands (4)
- Plastic cap
- Glue gun
INSTRUCTIONS FOR MAKING POPSICLE CATAPULT:
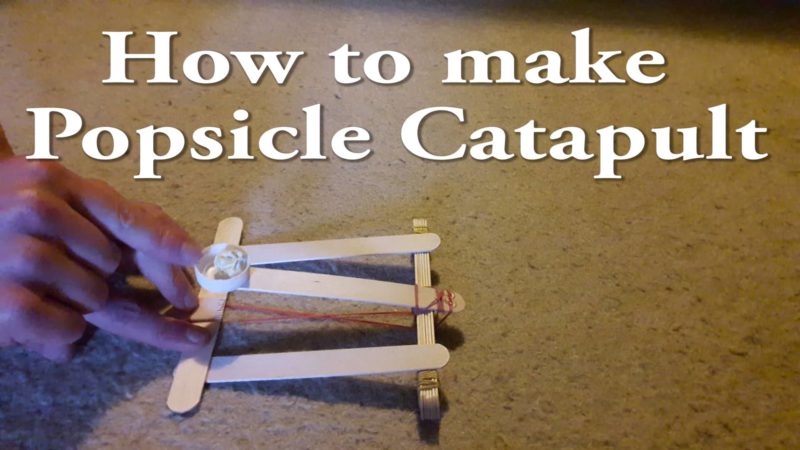
Watch the video at the beginning of the article for step by step instructions or continue reading…
- Take 6 sticks and attach them together using 2 rubber bands (on both ends).
- Take one larger rubber band and use it to attach one stick in the middle. Wrap it around all the edges – that’s the arm of the catapult.
- Glue 2 more sticks on the edges of the construction. Glue the third one over those two, so you get a square shape.
- We can make our catapult more durable by attaching a small piece of stick vertically in the middle of that closing stick (like a tail).
- Use the rubber band to connect the tail and the arm of the catapult.
- Using glue gun, attach the plastic cap to the end of the arm
- Make a little paper ball and go test your war machine!
WHAT WILL YOU DEVELOP AND LEARN:
- Newton’s laws of motion
- Principles of Propulsion
- Engineering skills
- Oculomotor coordination
If you enjoyed making Popsicle Catapult and would like to do more similar activities, we recommend How to make Match Head Rocket, How to make Homemade Rocket using Vinegar and Baking Soda or How to build structures with toothpicks.
If you’re searching for some great STEM Activities for Kids and Child development tips, you’re on the right place! Check the Categories below to find the right activity for you.


3 thoughts on “How to make Popsicle Catapult”